")

How to Use Launch Thinkdiag?
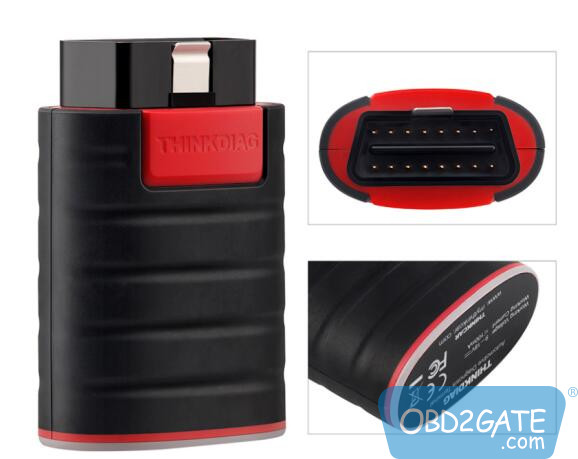
Launch Thinkdiag is an OBD2 diagnostic tool that allows you to diagnose and troubleshoot your vehicle’s engine and other systems.
Here are the steps to use the Launch Thinkdiag:
- First, download and install the Thinkdiag app on your smartphone or tablet from the App Store or Google Play Store.
- Connect the Launch Thinkdiag device to your vehicle’s OBD2 port. This port is usually located under the dashboard on the driver’s side.
- Turn on the ignition of your vehicle but do not start the engine.
- Launch the Thinkdiag app on your smartphone or tablet, and then connect to the device via Bluetooth. You should be prompted to enter the device’s serial number and password, which can be found on the device.
- Once connected, select the make and model of your vehicle and then select the system you want to diagnose. The app will automatically scan your vehicle’s systems and report any errors or faults.
- You can then view the diagnostic report on your smartphone or tablet, and the app will provide suggestions for possible solutions or repairs.
- If necessary, you can clear any error codes using the app, and then recheck the system to ensure the issue has been resolved.
- Once you are done with the diagnostic, disconnect the Launch Thinkdiag device from the OBD2 port and turn off the ignition.
Note: It’s important to follow the instructions provided in the Launch Thinkdiag user manual carefully to ensure proper usage of the device.